In this series I explain how to do some basic tweaks in our laptops/ mobiles / tablets, in order to make it more privacy oriented and ad free. These tips might be too obvious for those who are in tech, even I thought many of these are obvious until very recently I was made aware that many of us from the medical community are not aware these tools/ tweaks exists.
Part 1
Blocking ads system wide on Mobile phone / Tablets.
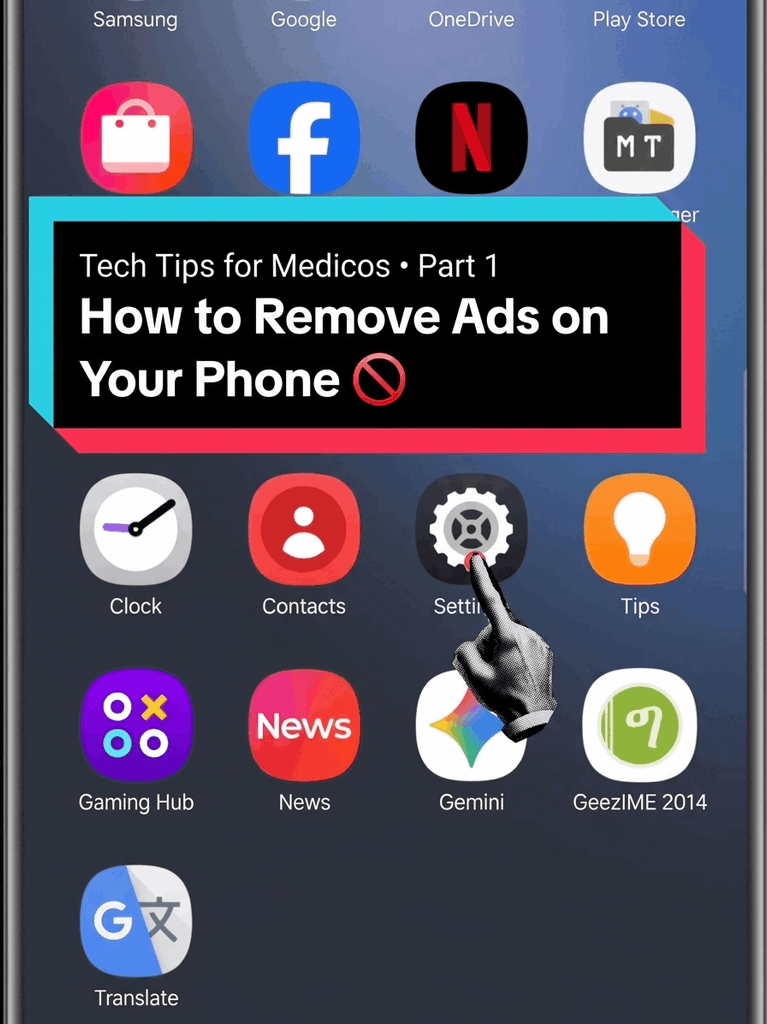
This is not about the time where you see an add on Insta or Youtube when you talk about something or the youtube ads itself.
This is about the ads you see inside the apps, banner ads, pop up ads, apps that appear when you try to close some apps etc.
There are a few ways in which we can do this. I’ll just highlight one method which I have found very useful.
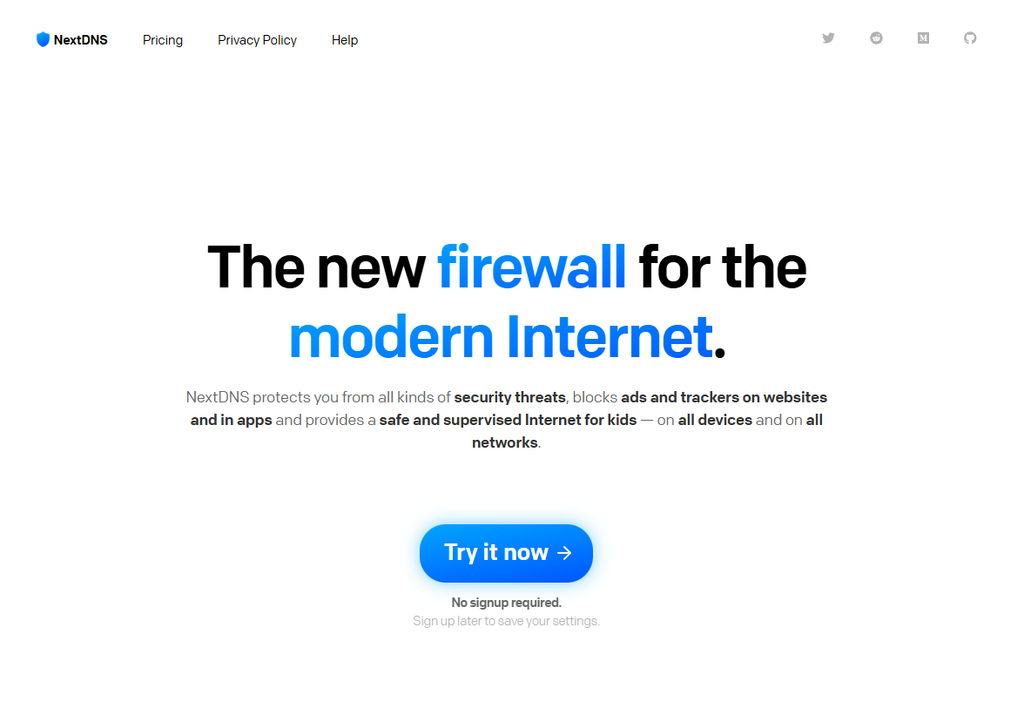
- Search for nextdns on your browser. This will lead you to nextdns.io a custom dns provider.
- Click on Try it now. There is an option to try the service without signing up, however for saving custom settings an account is required. (free tier is more than enough for one device)
- Signup with your email. (Don’t worry, they hardly send any Junk mails)
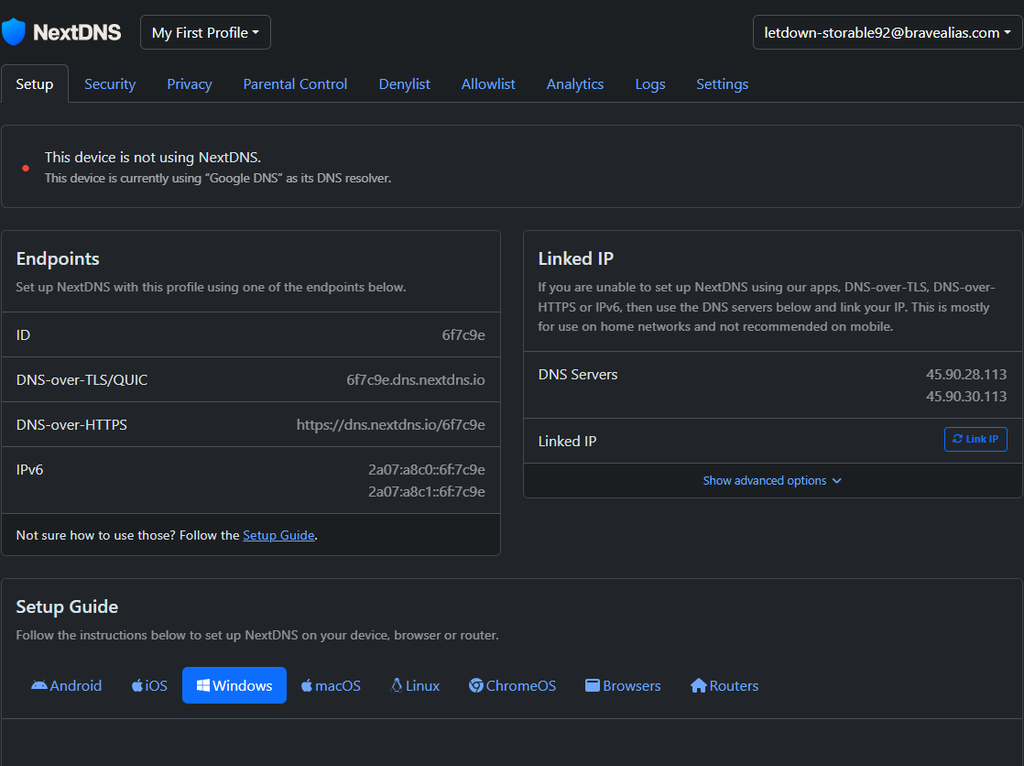
4. It will show the DNS service you are using currently.
5. Now go to Privacy tab . Nextdns automatically selects the NextDNS Ads & Trackers Blocklist as default. Which is a decent block list, however for better adblocking in mobile devices we need to enable few more blocklists.
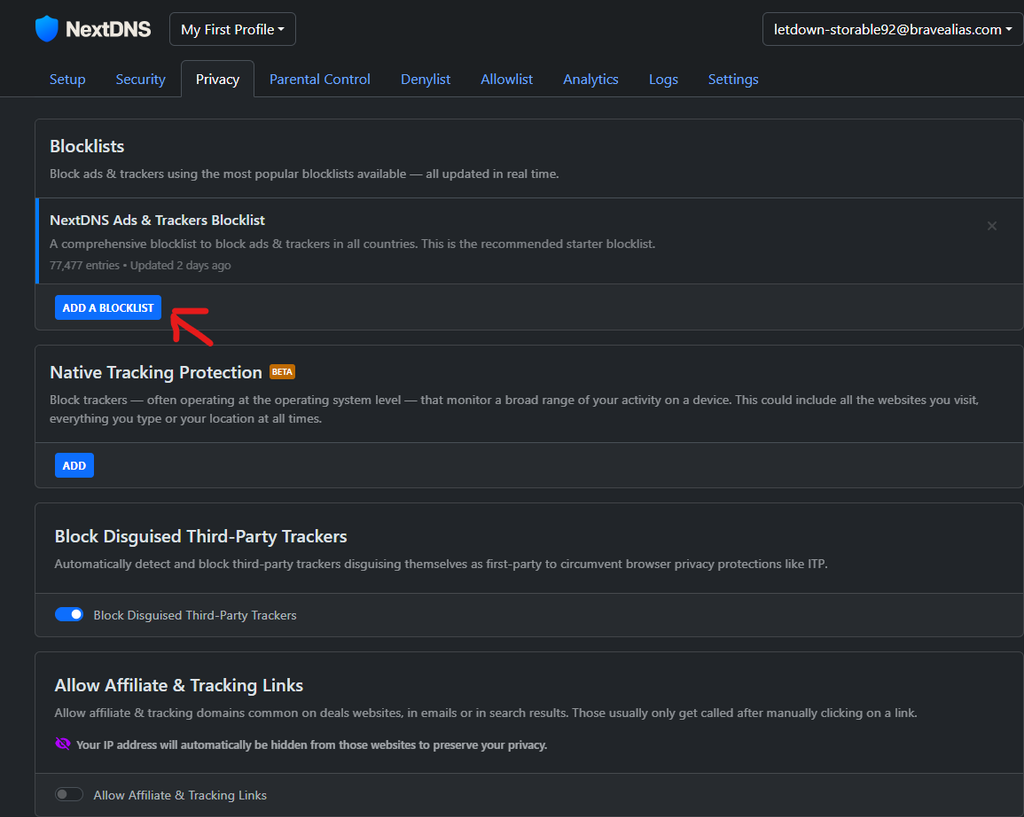
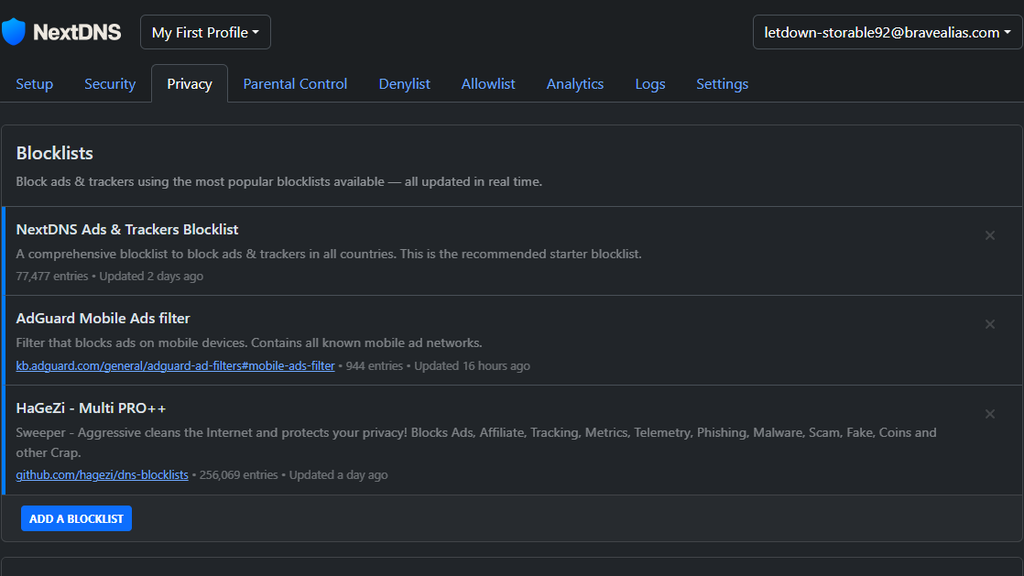
6. Select Add a blocklist. in the list that pops up, add the following filters
AdGuard Mobile Ads filter
HaGeZi – Multi PRO++
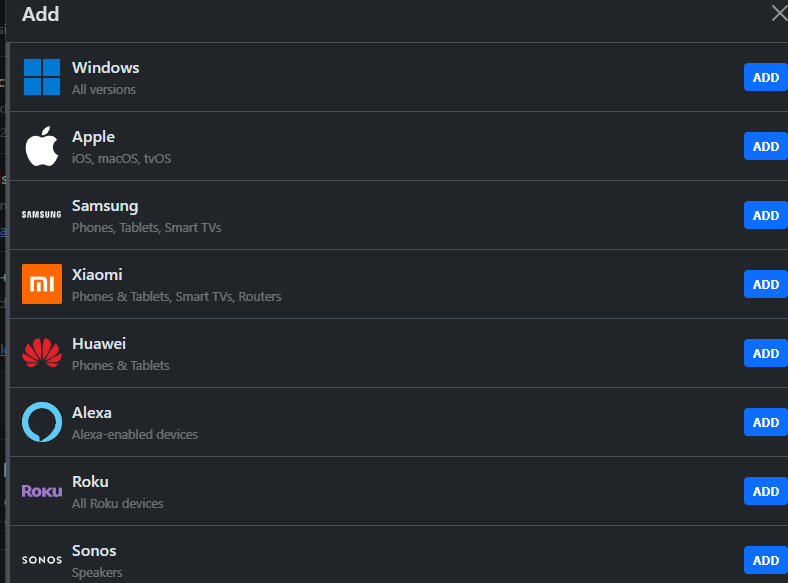
7. Now blocking system level ads, select Native tracking protection – add respective brands.

8. That’s it. Basic adblocking setup is done. There are a few other options like specific content blocking, timeouts etc, which you can explore if you are interested.
9. Now how to apply the settings to your device?
Go back to the Set up tab, scroll down to find the Setup Guide
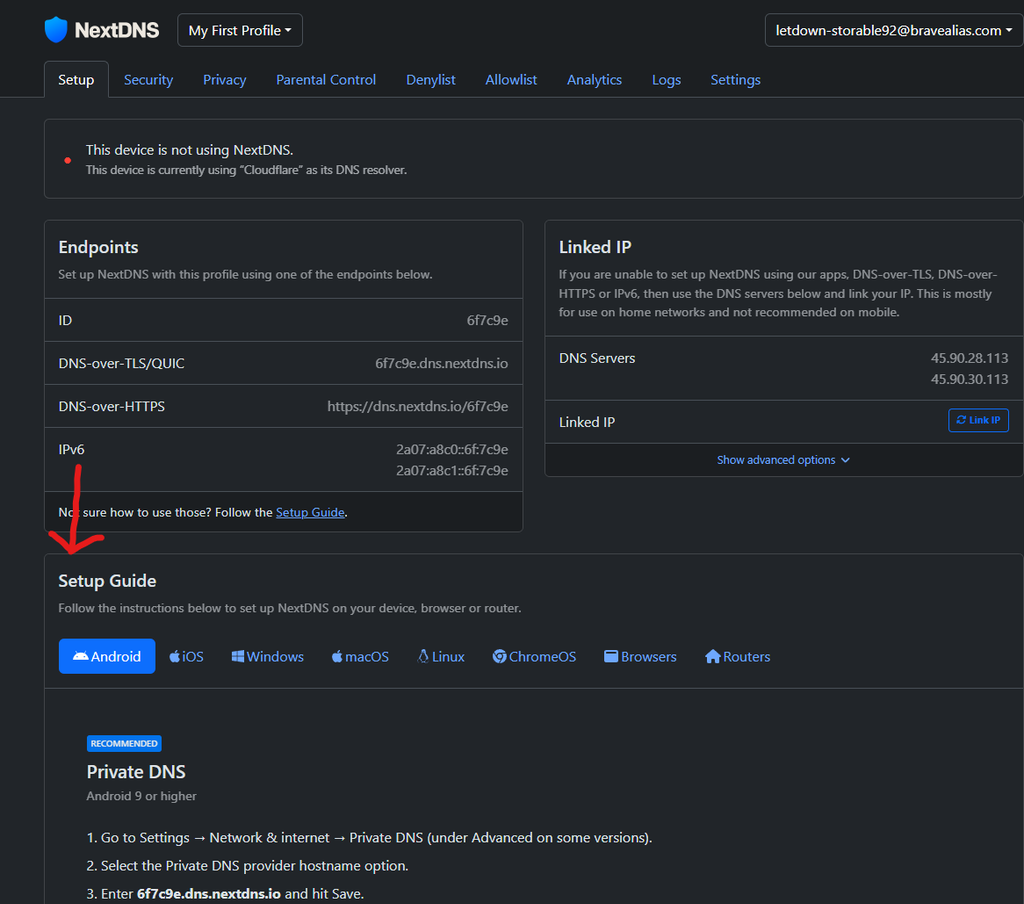
Based on your device, detailed explanation on how to set up nextdns is given there.
For Android
- Go to Settings → Network & internet → Private DNS
or Go to Settings → Search dns → Private DNS - Select the Private DNS provider hostname option.
- Enter XXXXX.dns.nextdns.io and hit Save the first part of the address will be different to different people. which you can just copy and paste from the above page.
- That’s it
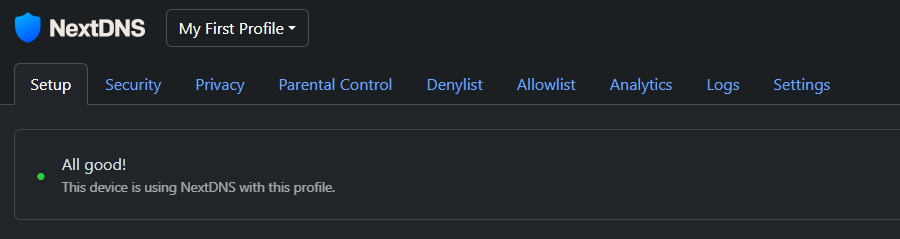
Once you have setup correctly you’ll see the above screen.